Migration from Goodtables
Goodtables was a data package validation service
that has been superseded by Frictionless Repository. To use it, it was
necessary to create a goodtables.yml configuration file in your
repository, otherwise it would validate all your files with as CSV, ODS,
XLS or XLSX extensions. The instructions for doing that configuration
are described
here.
With Frictionless Repository, instead of the goodtables.yml file, you
will need to create a github workflow file named
.github/frictionless.yaml as describe here.
Example and howto#
The website Dataportals.org has used GoodTables in the past to validate their data files, which contain all the portals listed on it. The migration steps from GoodTables to the current Frictionless workflow on Dataportals.org repository were:
1. Delete the GoodTables configuration file goodtables.yml#
The configuration file needs to be removed from the repository:
2. Remove the GoodTables WebHook from repository settings#
In the Github repository, go into "Settings", then "WebHooks".
Find the GoodTables.io entry there and hit "Delete".
3. Create a file inside the repository at the path .github/frictionless.yaml#
If the .github folder does not yet exist in your repository, you do
need to create it first. The contents of the frictionless.yaml file are:
Note that the source must point to the place in your repository where
the data package file that you do want to validate is located.
4. Create the configuration file for the Frictionless validation workflow at .github/workflow/frictionless.yaml#
This file is where you configure how the validation is going to run as described here. The contents of this file for the Dataportals.org website are:
After creating these files in your repository, commit (git commit -a)
them and push the changes to Github (git push). You can check the
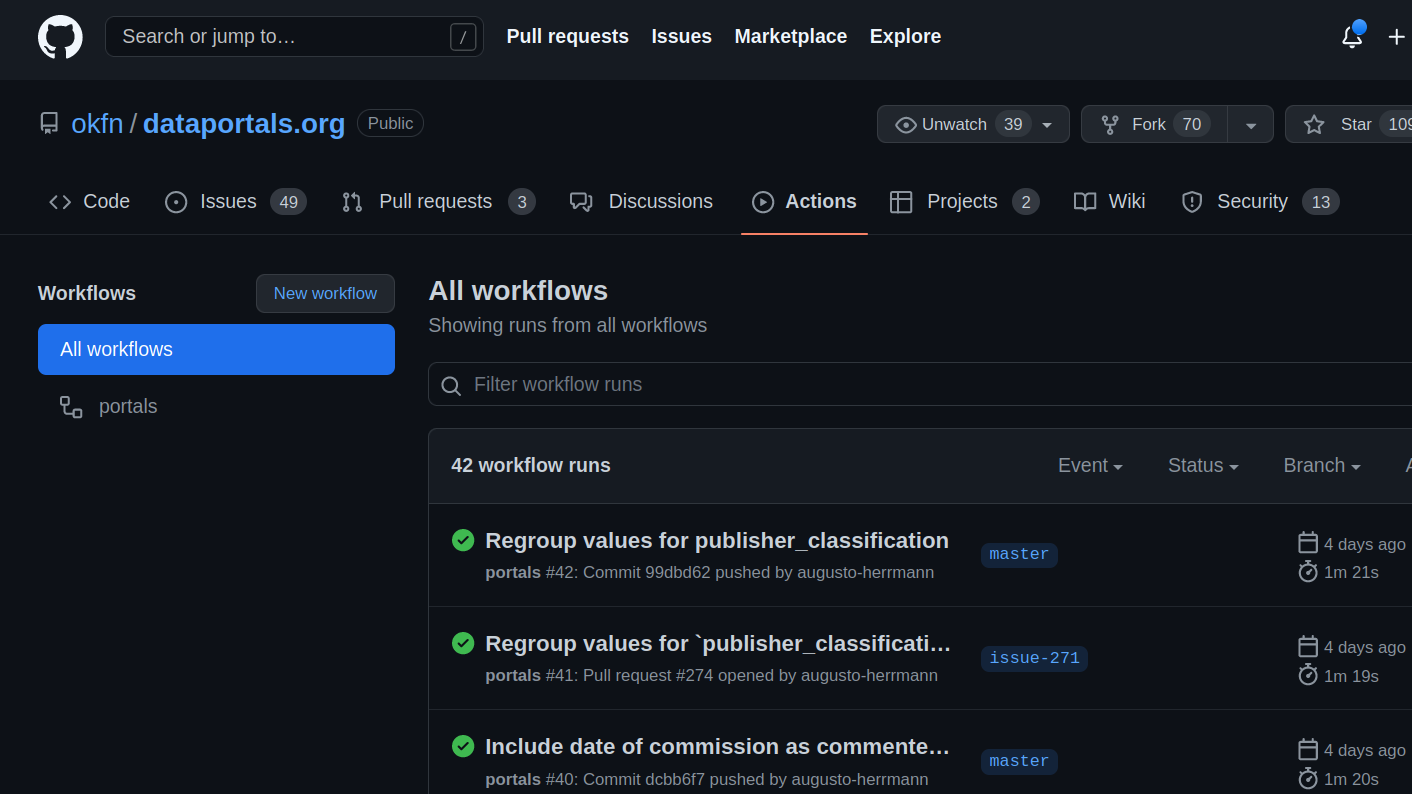
workflow running in your repository clicking the Actions tab:
5. Update the validation badge#
In GoodTables, the badge showing the validation status was located at
https://goodtables.io/badge/github/REPOSITORY-PATH.svg.
In Dataportals.org's case, the path was
https://goodtables.io/badge/github/okfn/dataportals.org.svg.
With Frictionless Repository, in order to use a badge for the new
workflow you need to create an image referencing a specific URL. In
Dataportals.org's case this is
https://github.com/okfn/dataportals.org/actions/workflows/frictionless.yaml/badge.svg.
You can see how the Dataportals.org repository is using the badge at their data README page:
![]()
If you look at the README.md file contents you will see how this badge is written in Markdown:
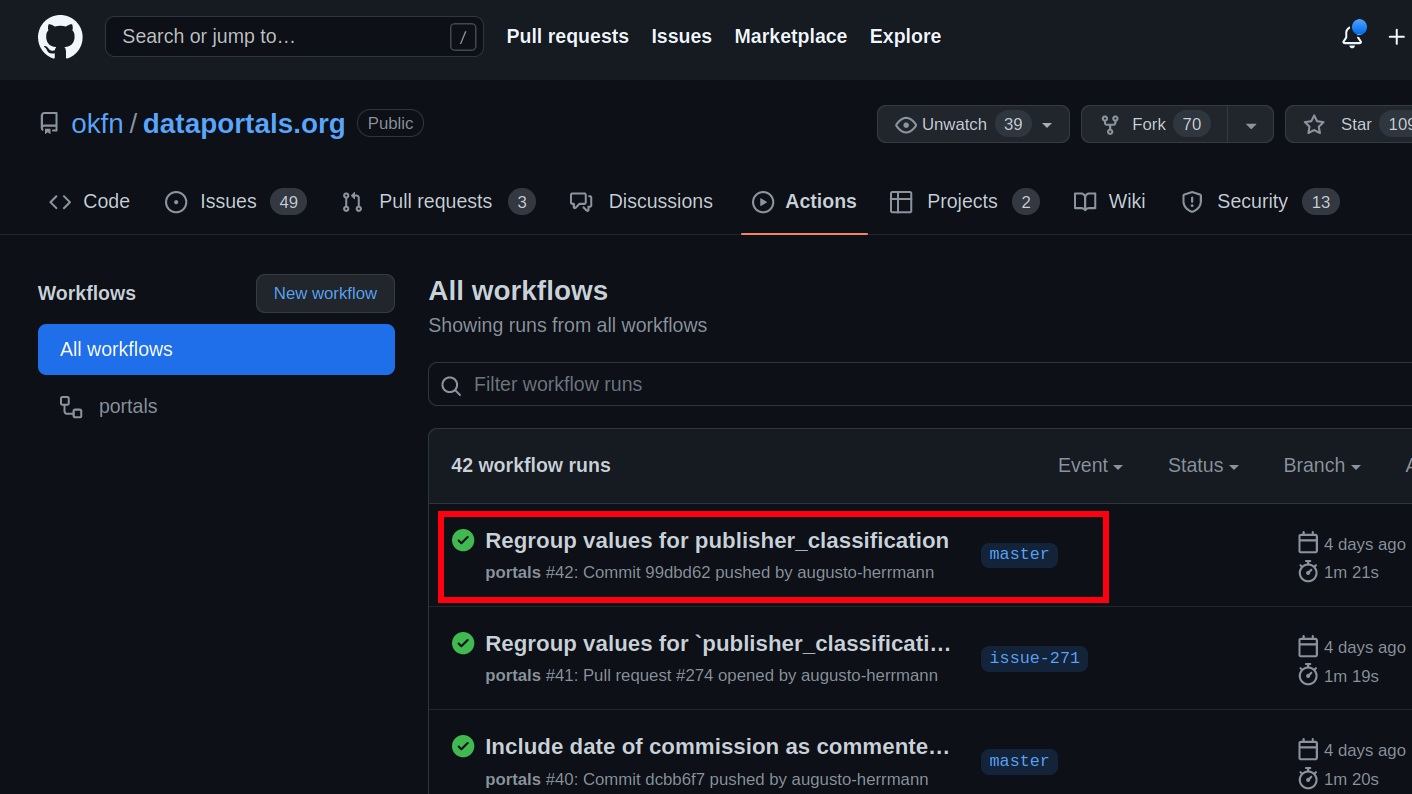
You can get the exact code to create the badge for your frictionless validation workflow, in markdown format, by going to your repository's Github Actions tab:
Click the last workflow run:
And then click the three dots menu at the top right corner:
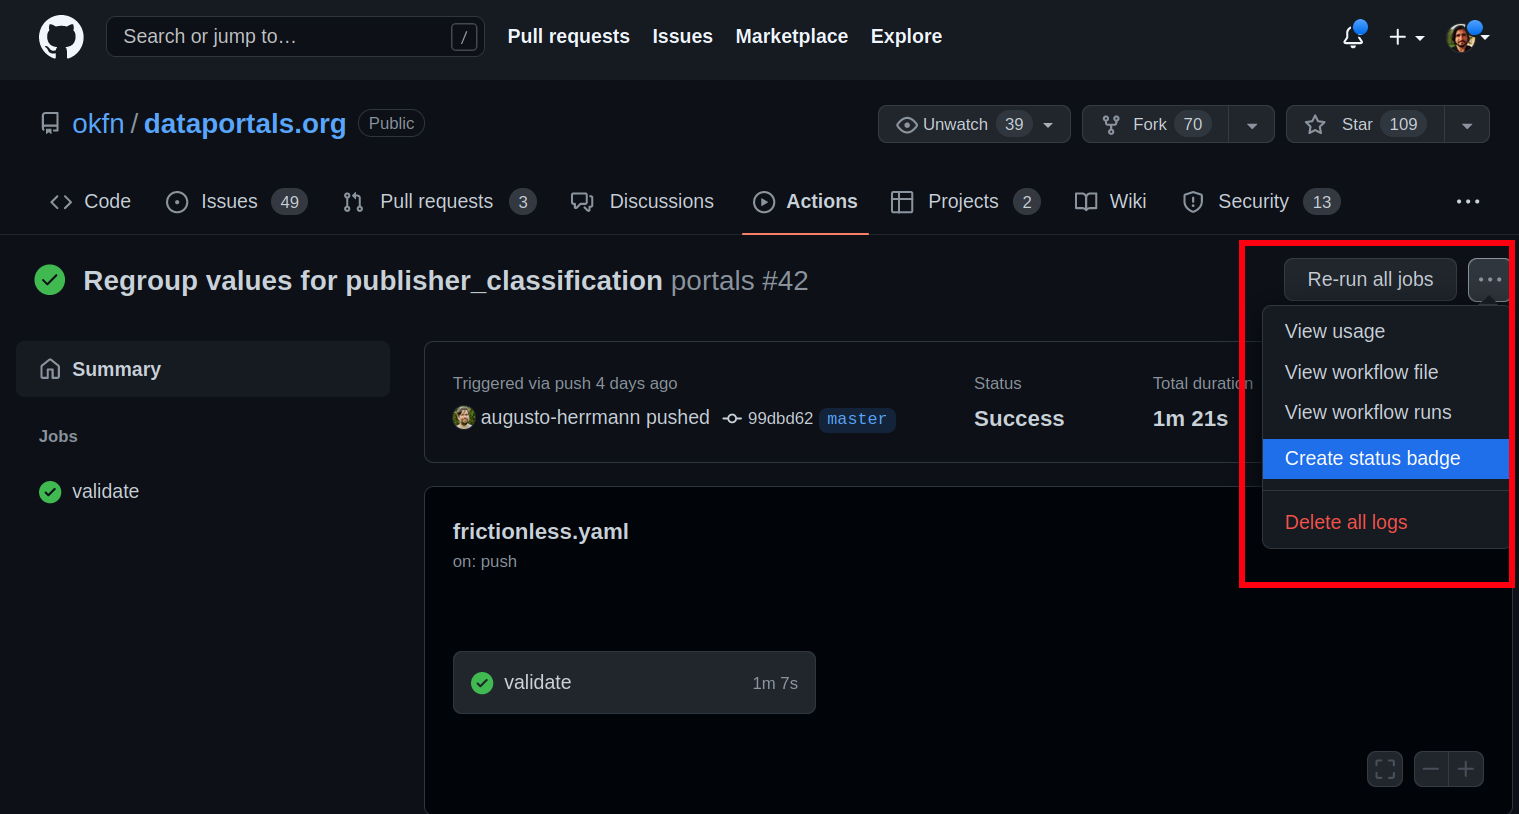
Select "Create status badge" and this will open a dialog where you can copy the badge markdown code:
![]()
Paste this code at the top (or anywhere else) of your README.md file, commit it, and you're done!